Streaming Video from ESP32-CAM to a Browser
Stream live video from your ESP32-CAM to any web browser over local Wi-Fi or Access Point mode with low latency MJPEG streaming.
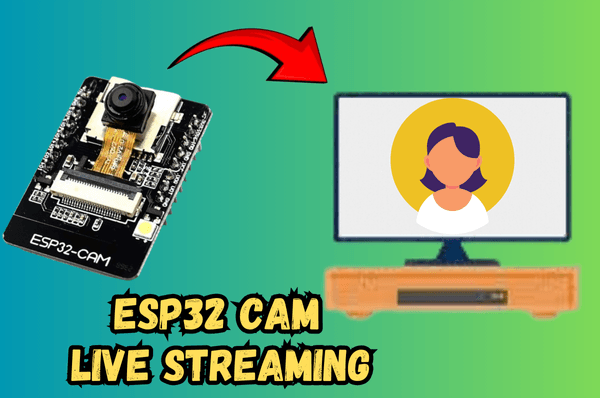
In this guide, we'll walk through a simple but effective setup to stream live video from an ESP32-CAM module to a web browser. Using the ESP32's built-in WiFi capabilities, this setup can either connect to an existing network or create its own WiFi hotspot, allowing you to access the video stream by typing in the IP address on any browser within range.
#Prerequisites
Before diving into the code, ensure you have the following:
- ESP32-CAM module (e.g., AI-THINKER model)
- USB to Serial Adapter (for uploading code) or ESP32 Programming Adapter
- Jumper wires
- Arduino IDE with ESP32 Board Manager installed
#Code
[object Promise]#Code Explaination
Here’s an in-depth breakdown of how the code works to configure the ESP32-CAM and create an access point for streaming.
#Step 1: Import Libraries and Set Camera Model
[object Promise]The libraries esp_camera.h, WiFi.h, and WebServer.h allow for camera control, WiFi connectivity, and a simple web server setup. Define the correct model for your ESP32-CAM to ensure it initializes with the right pin mappings.
#Step 2: Configure WiFi Credentials
[object Promise]The code sets up a simple Access Point (AP) mode by using a basic SSID and password. This configuration lets the ESP32-CAM create its own WiFi network, ideal if you want to access the stream without relying on an existing network.
#Step 3: Define the Video Streaming Handler
[object Promise]This function, handle_jpg_stream(), captures frames from the ESP32-CAM and streams them in JPEG format. The HTTP response uses multipart/x-mixed-replace, which allows continuous streaming by updating the image data for each frame.
The function:
- Captures a frame from the camera buffer.
- Converts it to JPEG format (if not already).
- Writes the frame to the client with the appropriate
Content-Type.
#Step 4: Setting Up the Camera Server
[object Promise]This function sets up the HTTP endpoints:
/displays a welcome message./streamtriggershandle_jpg_stream()to begin video streaming.
#Step 5: Initialize Camera Settings
[object Promise]The camera settings configure:
- The frame size (resolution).
- JPEG quality based on PSRAM availability.
- The number of frame buffers for smoother performance.
#Step 6: Connect WiFi and Start the Camera Server
[object Promise]In AP mode, the ESP32-CAM generates a unique IP address, which is printed in the Serial Monitor. This IP can then be used in any browser on a device connected to the ESP32-CAM network to access the video stream.
#Testing the Setup
- Upload the code to your ESP32-CAM.
- Open the Serial Monitor to see the assigned IP address (something like
192.168.4.1). - Connect your computer or phone to the ESP32-CAM AP network with the specified SSID and password.
- Open a browser and enter
http://[IP address]/stream(replace[IP address]with the IP shown in the Serial Monitor).